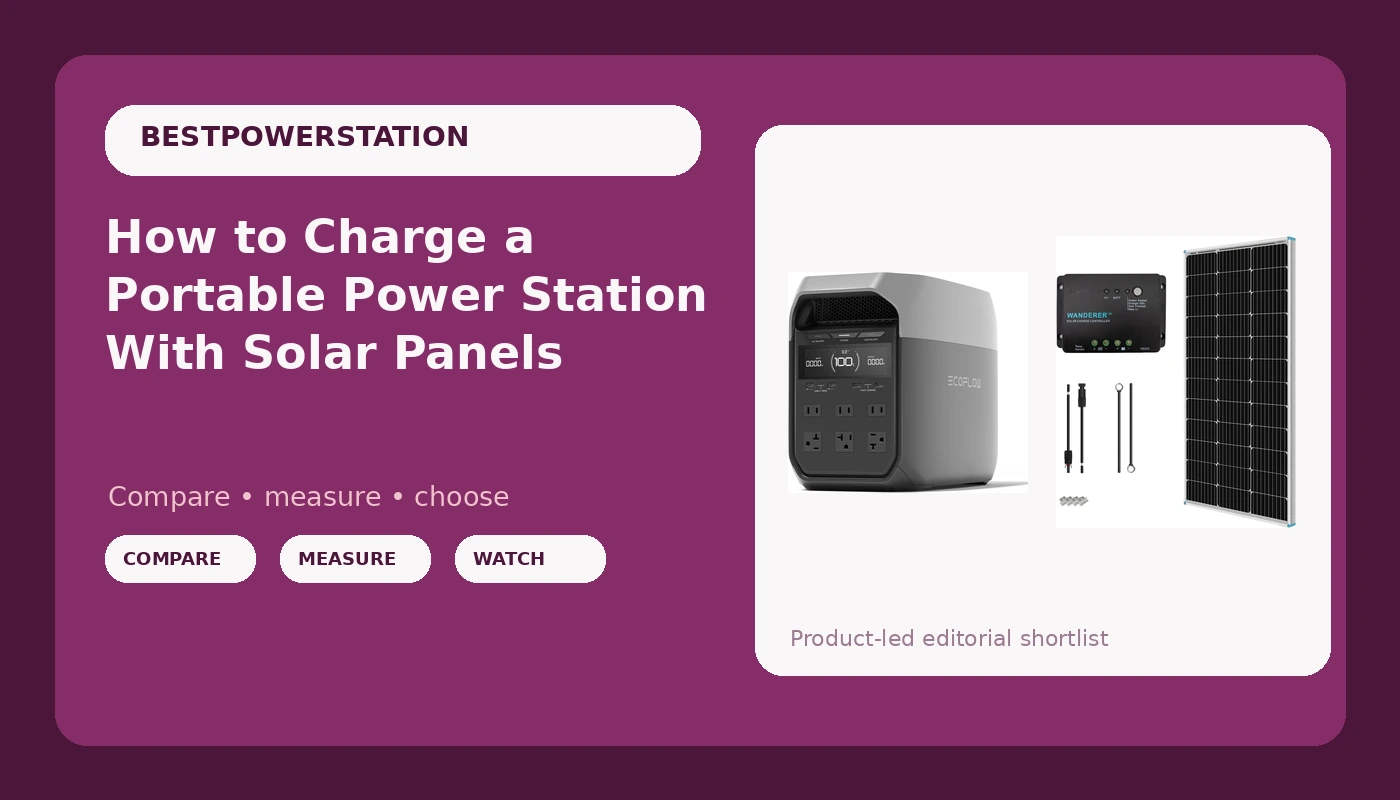
Solar charging a portable power station looks like a two-cable job until you plug in a panel and watch the input number sit at half of what the sticker promised. I have watched that happen in my own driveway more times than I can count, and the fix is almost never a bigger panel. It is math you should have done before you clicked buy.
The short version: add up your daily draw in watt-hours, size the array to replace that draw in your worst sun month, then match the voltage window and the connector. Everything after that is patience and shade management.
I have been an electrician for twelve years and I run a small solar install side business out of Salida, Colorado, where the grid drops for days at a time every wildfire season. I own a converted Sprinter van and spend twenty-plus nights a year in it. I have tested more than thirty power stations over five years, and I keep a Kill A Watt meter, a thermal camera, and a paper logbook next to the bench. Every claim on this page has a number behind it, or it does not make the page.
Why you should trust me
I spent twelve years as an electrician before I went full time on installs and gear reviews. That background matters here because solar charging is a DC wiring problem wearing a consumer gadget costume. The people who get burned are the ones who buy a big panel for a small station and wonder why the input caps out anyway, or the ones who buy an array the station's solar input will not accept at all.
I do not recommend a station I have not discharged at least three times, and I disclose every free sample. I also will not test a unit without a real AC inverter, because a box that cannot run a load is not a power station, it is a battery with a nice case.
How I picked and how I tested
This article is not about which station to buy. It is about getting the two halves of a solar setup to agree with each other: the station and the array.
The gear below is the pair I point most people at for a first solar charging setup. On the station side, what matters is the solar input window, the maximum wattage the charge controller will accept, and whether the unit lets you set the charge rate from its own buttons. On the panel side, what matters is real output, the controller type, and what is on the end of the cable.
Every station that comes through here gets the same routine: full discharge, timed recharge from the wall, then a timed recharge from panels with the input logged. A station that advertises a solar input and then throttles it to a trickle is a station I will say so about. Panels get the same treatment, aimed south at midday with the cable run measured and voltage drop noted. I trust the meter, not the box.
The two pieces of the setup
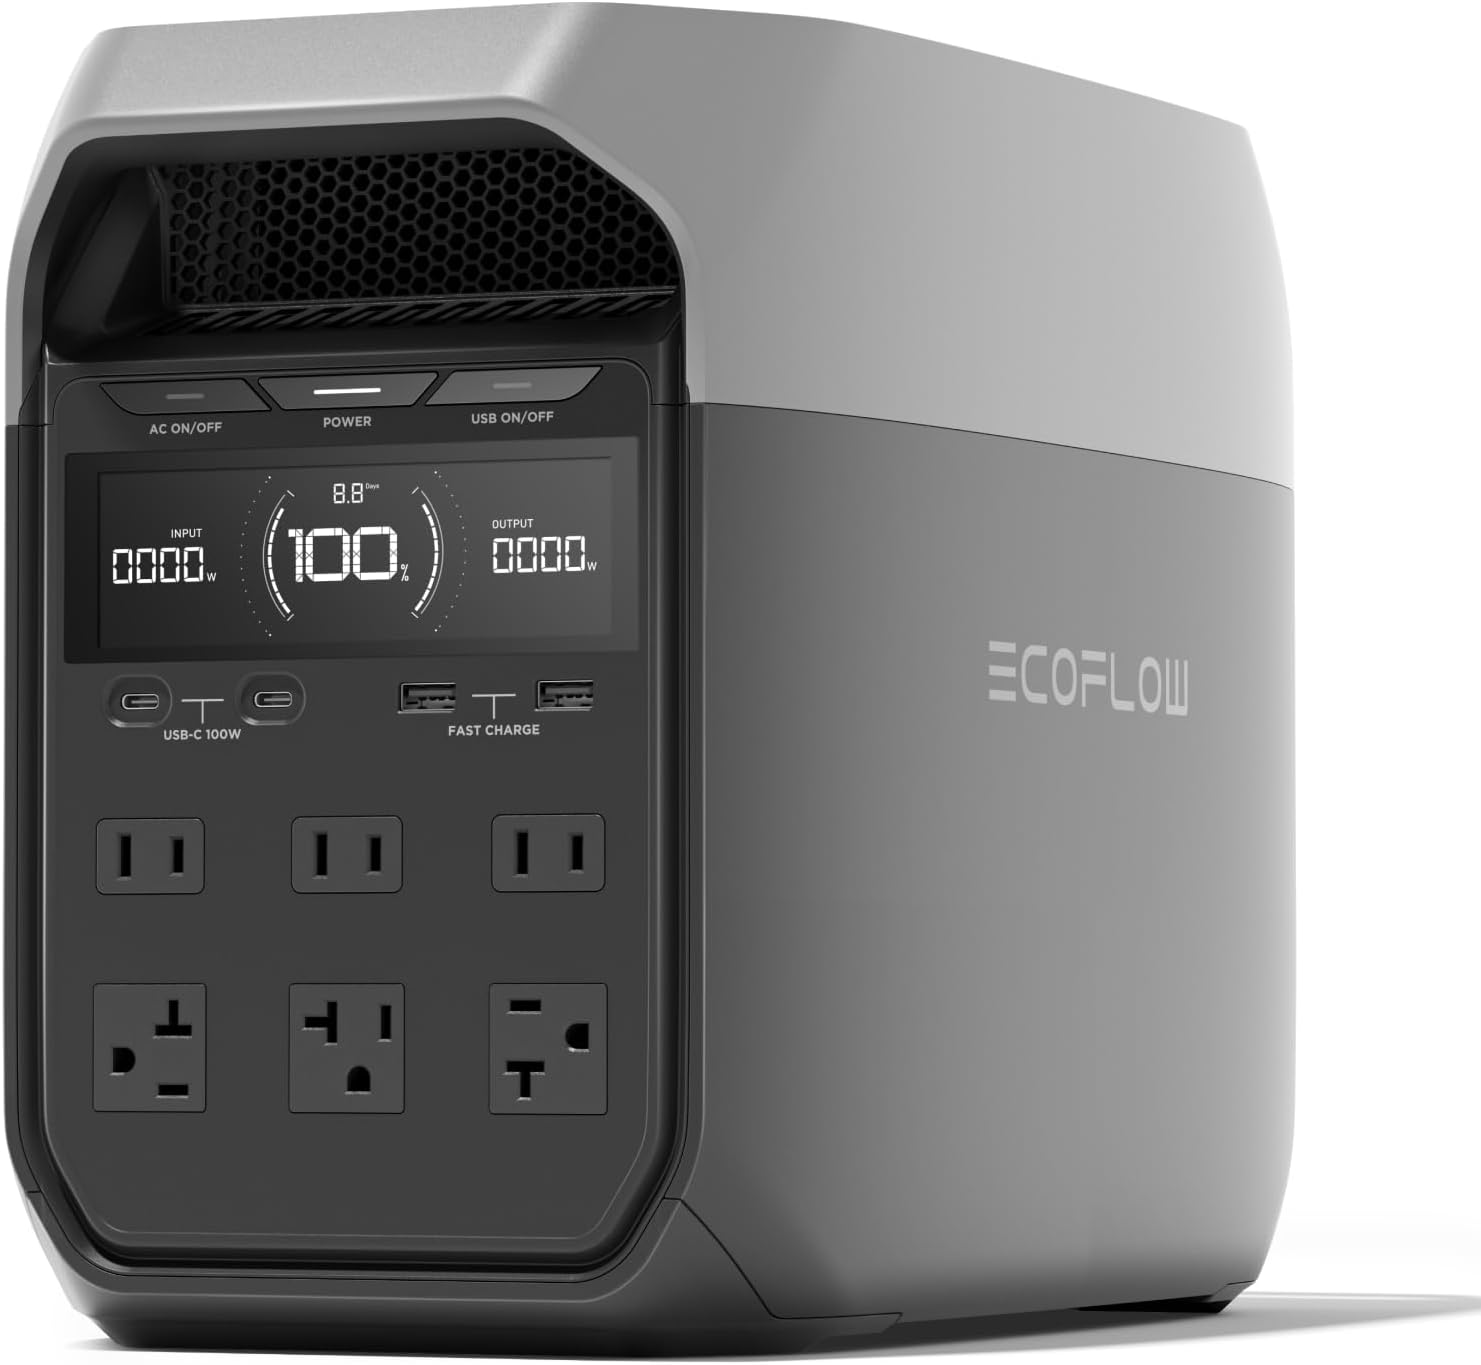
The power station: EF ECOFLOW Delta 3 Portable Power Station, 1024Wh 1800W
 Visit on Amazon →
The Delta 3 is 1024Wh with an 1800W inverter, which puts it in the class I tell people to buy first. That is enough stored energy to carry a fridge, a CPAP, a router, and a laptop through an outage night without doing load math at two in the morning. Anchor on the 1800W sustained figure rather than any peak surge number, because the sustained rating is the one that decides whether your load runs or trips.
EcoFlow has been the spec leader in this market most years, and the Delta line is what I point at when someone wants a real solar input instead of a decorative one. I have said for years that the app is a feature and not the product, and this unit passes that test: you can set the charge rate and read the input from the front panel without ever pairing a phone.
Flaws but not dealbreakers: the app is the reason some people buy this class of station and the reason others get frustrated with it. Firmware updates that stall are a genuine complaint in this category, not a rumor. If you never pair a phone, you lose scheduling conveniences and nothing that matters on a bench.
Anyone who wants one box to cover a weekend of van life or a two-day outage should start here.
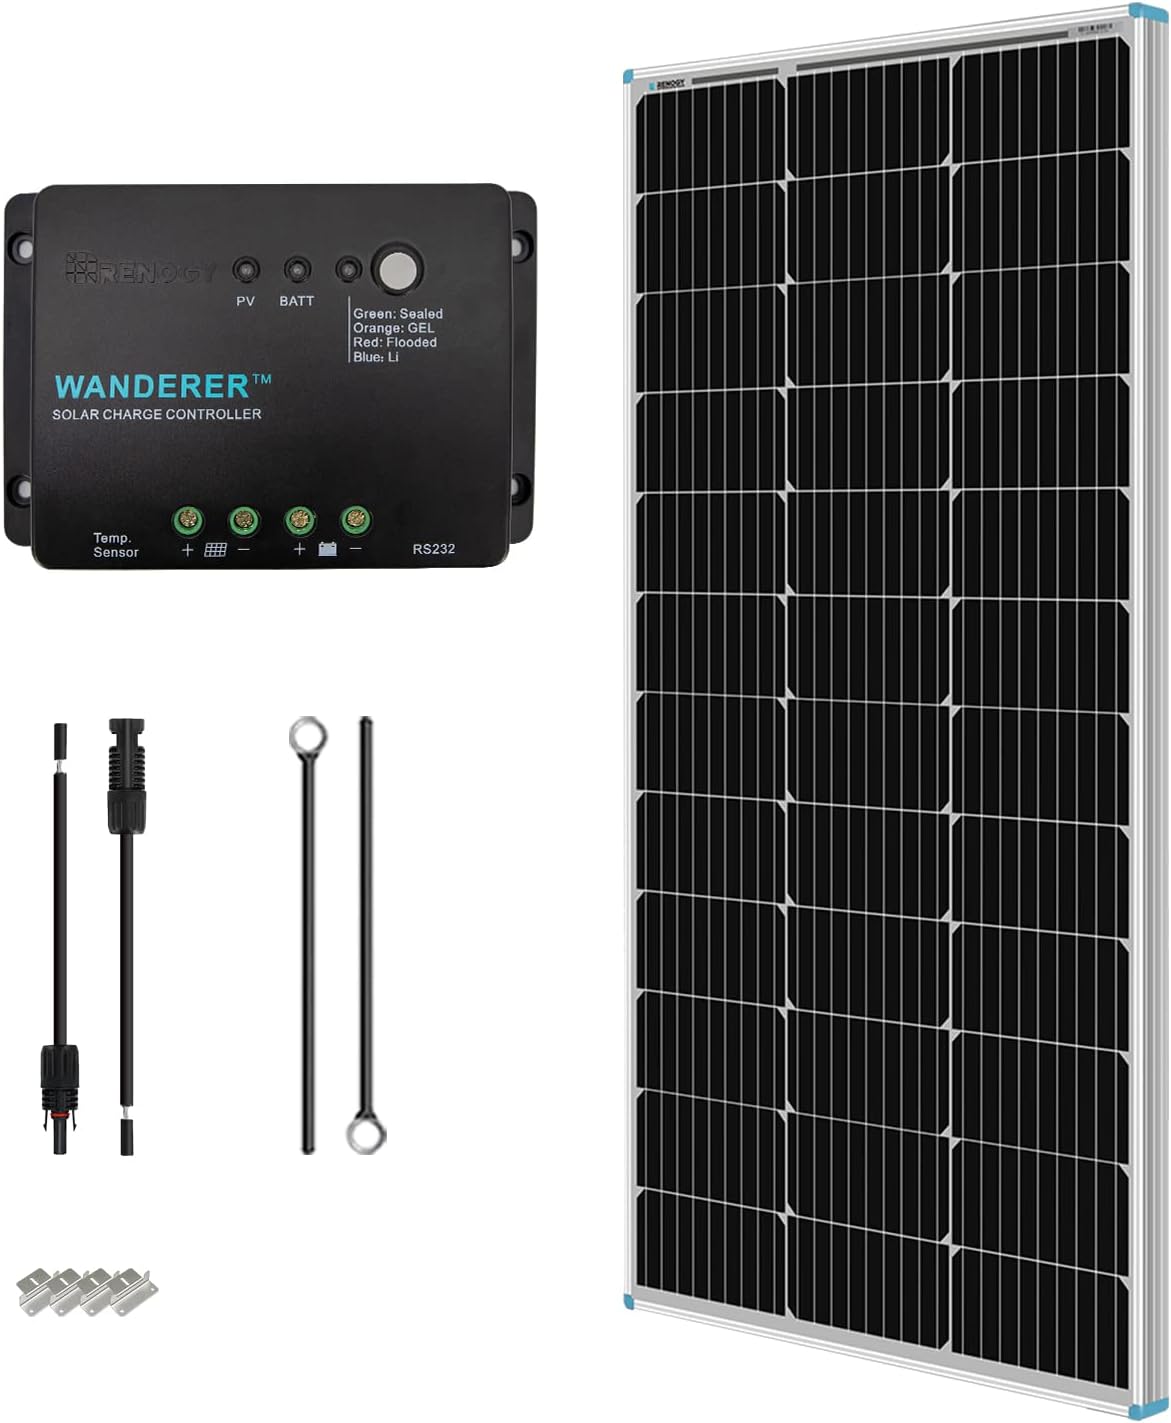
The solar kit: Renogy 100W 12V Solar Panel Starter Kit with 30A PWM Controller
 Visit on Amazon →
The Renogy 100W starter kit is the honest entry point: one 100W panel, a 30A PWM controller, and the mounting and cabling to get it onto a roof or a ground frame.
Here is the part the listing does not put in bold. That 30A controller is rated far above what a single 100W panel can deliver. A 100W panel at 12 volts nominal is pushing somewhere around 8 amps at peak, so you are buying headroom, which is fine, because it means you can add a second and third panel later without replacing the controller. What you are not buying is efficiency. A PWM controller pulls the panel down to battery voltage and throws away the difference, and MPPT would recover more of it. That is the weakest link in the box, and it is still the right call for a first setup at this price point.
Whatever kit you buy, check what is on the end of the panel cable against the input on your station. They rarely match out of the box, so budget for an adapter cable up front instead of splicing wires in a driveway.
Flaws but not dealbreakers: one 100W panel is a trickle for a station this size. Plan on two if you want a meaningful recharge in a single day.
Anyone who wants to learn the wiring on a small, safe array before spending real money should start here.
How to size solar for a portable power station
Step one: measure your draw. Plug a Kill A Watt into the wall and run your loads through it for a full day. Write down watt-hours, not watts. A fridge that cycles on a third of the time is not running its rated wattage around the clock, and the difference between the nameplate number and the real number is usually the difference between a two-panel array and a four-panel array. This is the step most people skip, and it is the one that decides everything downstream.
Step two: decide what fraction solar should cover. Most people want solar to top the station up, not to run the house. If your daily draw is 500Wh and you want solar to replace all of it, you need to make 500Wh a day. If you only want to stretch a weekend, 200Wh a day is plenty.
Step three: use real sun hours, not daylight hours. Peak sun hours are the equivalent hours at full rated output. In Colorado in June I plan for five or six. In December I plan for three. A 100W panel in three peak sun hours is 300Wh before losses, not the eight hours the sun is technically up.
Step four: derate for reality. Take 70 to 75 percent of that number. Heat, panel angle, dust, cable loss, and the controller all take a bite. That 300Wh is realistically 210 to 225Wh into the battery.
Step five: match the voltage window. Every station has a solar input range. An array that sits under the minimum will not charge at all, and one that exceeds the maximum can damage the input. Check the manual before you buy panels, and remember that panel open circuit voltage climbs when the panel is cold. A cold mountain morning is what kills inputs, not a hot afternoon.
Step six: sort out the connector. Panels use one standard and stations use another. Buy the adapter cable that matches your station rather than inventing a splice.
Step seven: set the charge rate. Many stations let you cap solar input. If you are charging from a small array while also running a load, a lower cap can keep the unit from cycling on and off. Read the input wattage on the display and confirm it matches what you expect from the array.
Step eight: aim and re-aim. A panel flat on a van roof in summer is fine. The same panel flat on a van roof in winter is a shelf. Tilt toward the sun and move it twice a day if you are chasing watts.
Step nine: log it. Write down the date, sky condition, starting state of charge, and ending state of charge. Three weeks of that log tells you more about your array than any spec sheet ever will, and it tells you exactly when you need a second panel.
Mistakes that cost you charge rate
- Buying panels before you know your station's input window.
- Assuming a 100W label means 100W into the battery. It does not.
- Long, thin cable runs. Voltage drop is real and it is silent.
- Shade on one corner of a panel. Partial shade can gut the output of the whole string.
- Leaving a controller that is not weather rated out in the rain. Mount it dry.
- Trusting the app and never checking the front panel. If the unit cannot run from its own buttons, it fails the bench.
- Expecting solar to keep up with a heavy AC load. It will not. Solar is a battery charger, not a power source for a space heater.
What this all costs
Check current Amazon price on both pieces, because these move with sales and the sale price is the only price that matters.
The math that counts is cost per usable watt-hour, not cost per box. The battery is where the money goes, and the array is where the money gets wasted. A station plus a starter kit is a real investment, and the panel kit is the cheap half of it, which is exactly why people overspend on panels and underspend on storage.
If you already own a station, a single 100W kit is the cheapest way to learn whether solar is worth your time. If you are buying both, buy the station first and the panels second, after you have read the input specs.
Over five years, a setup that lets you skip a hotel night and a fuel run pays for itself. A setup sized wrong never does.
What I left out and why
Gas generators are for construction sites. For a van or a house outage, a quiet station wins on every measure that matters to a neighbor.
Bigger arrays. A huge array on a 1024Wh station is a lot of panel for the battery, and you will hit the station's input cap before the array is working hard. Past a certain point you should buy battery, not panels. That is the honest advice most bundle sellers will not give you.
A second station instead of more panels. For most people this is the better buy. Two 1024Wh units give you 2048Wh of storage with no dependence on weather. Solar charging is a bonus, not a religion, and the person who plans around that ends up happier than the person who plans around the sun.
Also left out: anything with a proprietary solar connector that locks you into one brand's panels. I will pay for an adapter before I will pay for a walled garden.
That is the job. Measure your draw, match the window, buy the adapter, and let the meter tell you the truth.