Most people size a power station the way they size a cooler: they grab the one that looks right and find out at the trailhead that it holds two sandwiches. Portable power station sizing is not complicated, but it is arithmetic, and the number on the front of the box is rarely the number that runs your fridge at 2 a.m.
I've been an electrician for 12 years and I run a small solar install business out of Salida, Colorado, where the grid drops for days at a time every wildfire season. My van is a 2004 Sprinter I wired myself, I sleep in it 20-plus nights a year, and I've bench tested more than 30 stations over the last five years with a Kill A Watt meter and a paper logbook. Every claim on this page has a number behind it or it doesn't get written.
The good news: sizing a station correctly takes about 15 minutes, one meter, and a notepad.
Why you should trust me
I spent 12 years as an electrician before the side work became the main work. Now I install off-grid and backup solar around Chaffee County and review power gear the rest of the time. My house sits on the same grid as everyone else in town, which means when a fire takes the lines down I'm running my fridge, my modem, and my shop lights off batteries like everybody else. I've sat through multi-day outages in three different seasons, and I've watched which units come back from them and which ones don't.
I test with a Kill A Watt meter, a thermal camera, and a paper logbook. My rule is simple: if a station hasn't been discharged at least three times on my bench, it doesn't get a recommendation. I disclose every free sample, and I don't publish affiliate links on a page until the test notes exist.
How I picked and how I tested
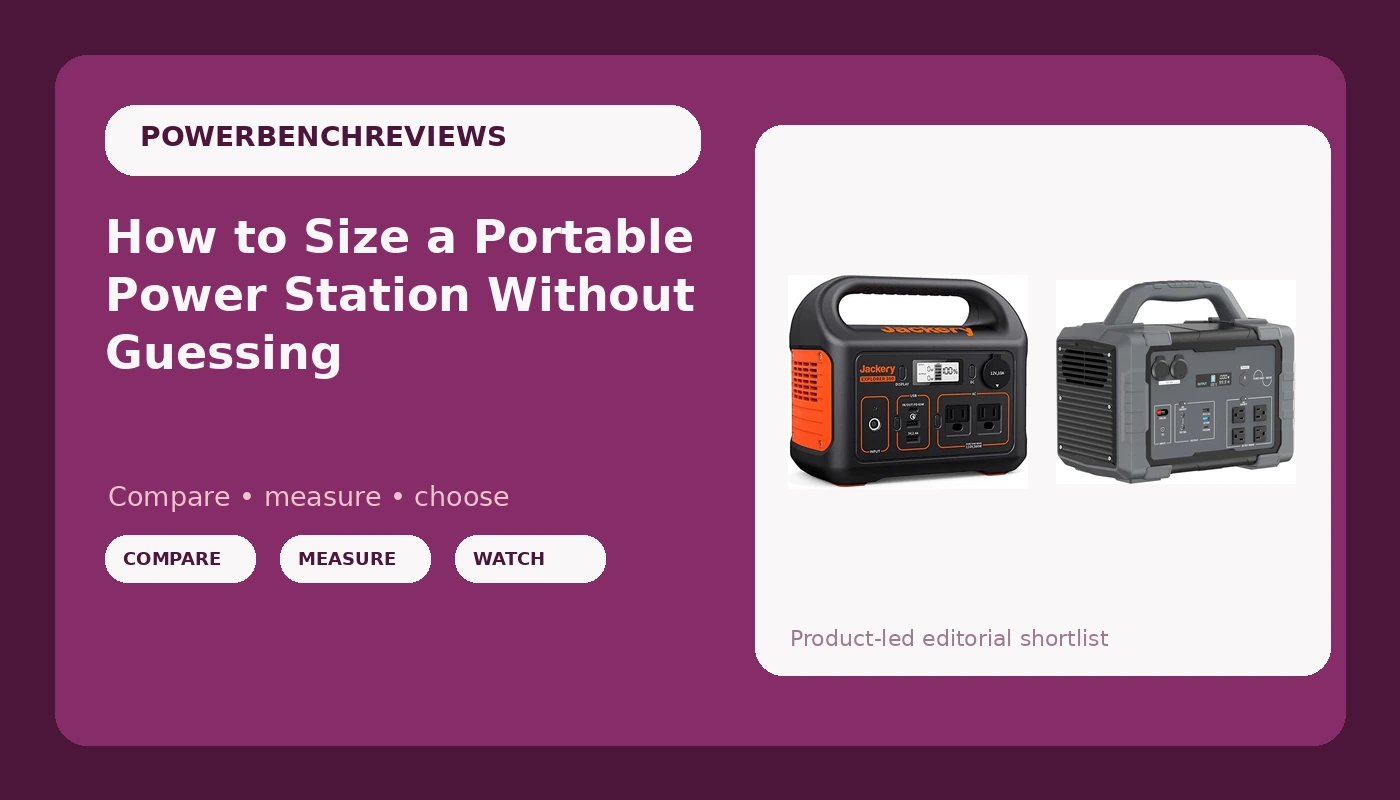
Two stations carry this guide, because two stations cover the two load classes most people actually fall into: the small-load buyer who needs phones, a router, a CPAP, and a few lights through a short outage, and the household buyer who wants the fridge, the modem, and the coffee maker to keep running.
Every unit that hits my bench gets the same routine. I discharge it at least three times. I measure inverter output under a resistive load, then again under a motor load, because motors lie to you. I confirm the unit runs from its own buttons with the app deleted, since an app is a feature and not the product. I check pass-through behavior with the unit plugged into the wall. I listen to the fan at low draw, because a station that screams at 200W is a station nobody wants in a bedroom.
The number I trust is measured watt-hours at the wall, not the number on the label. Labels quote cell capacity. The wall tells you what survived the inverter, the conversion losses, and the cutoff voltage.
Two stations that cover most first-time buyers
If your real draw lands between these two, buy the bigger one. Headroom is cheap. A station that shuts itself off halfway through an outage is not.
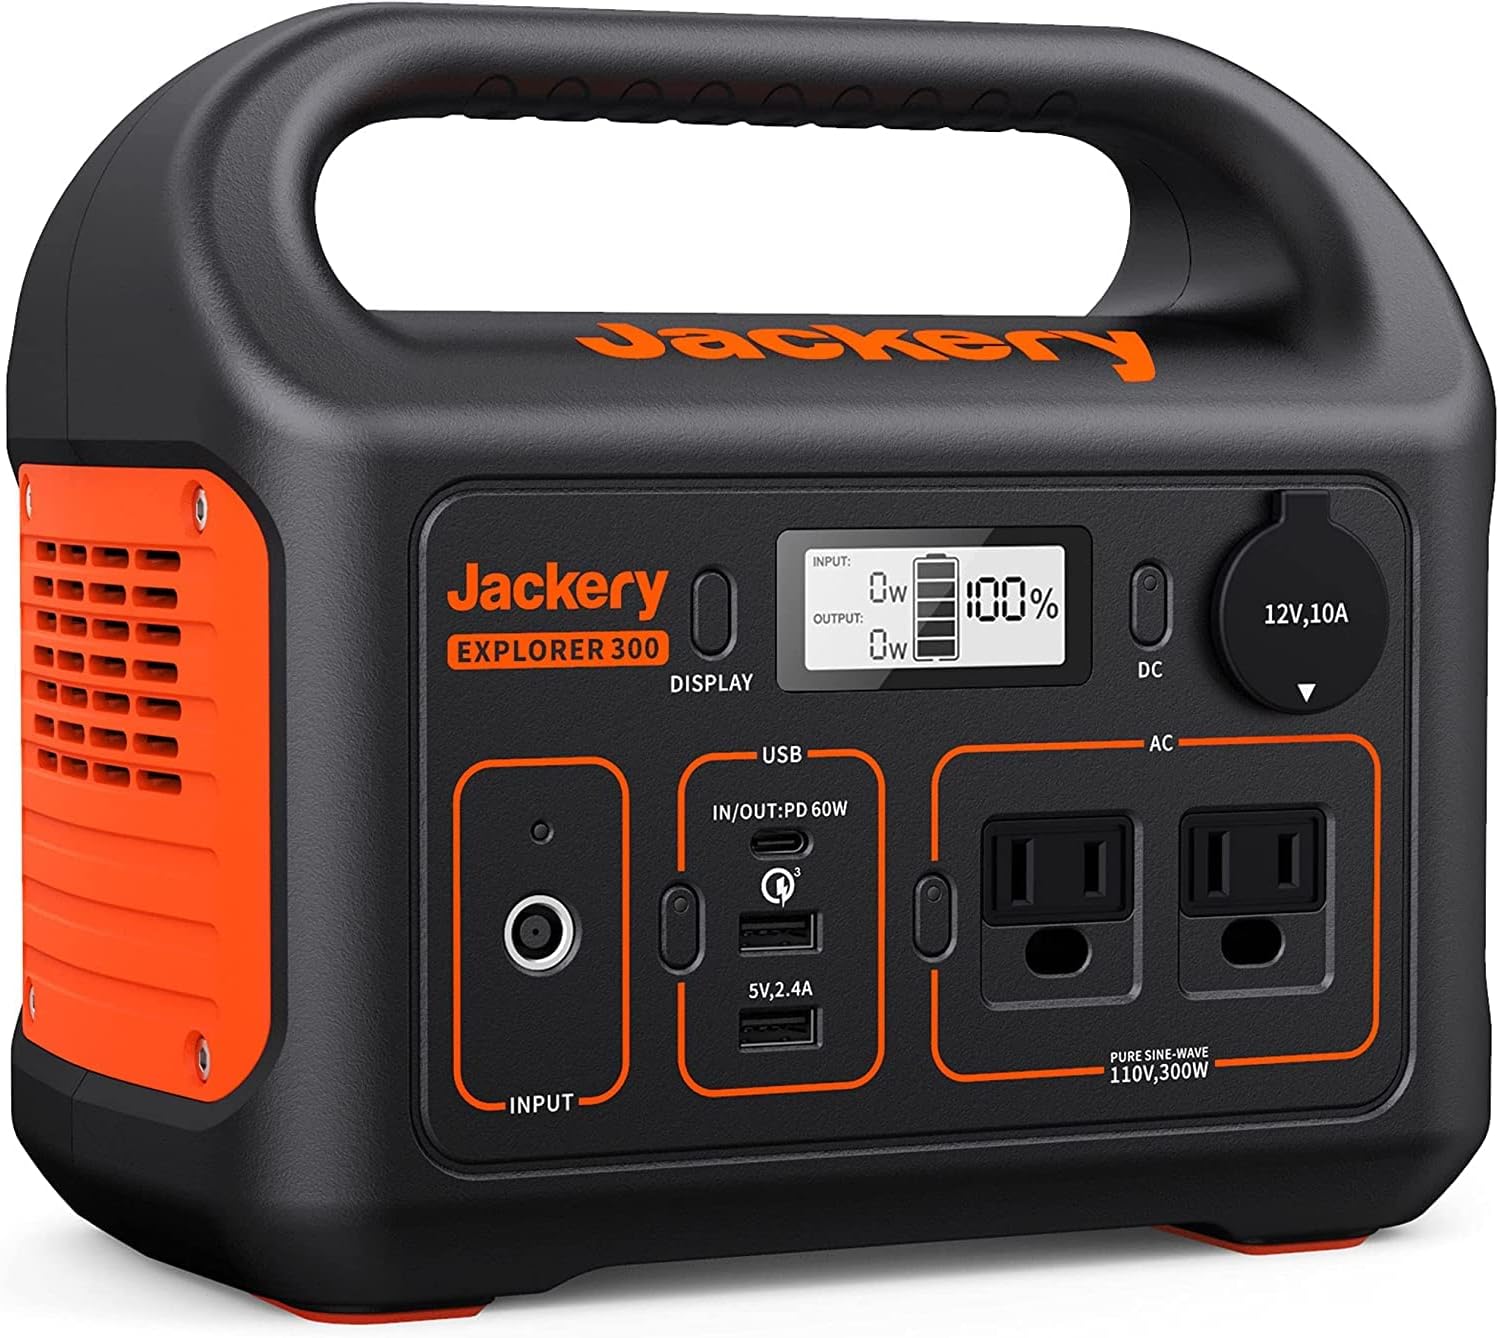
The small-load pick: Jackery Portable Power Station Explorer 300, 293Wh Backup Battery, Solar Generator (Solar Panel Not Included) for RV Outdoors Camping Hunting Blackout(Renewed)
 Visit on Amazon →
The 293Wh class is the honest answer for a lot of people, and this is the unit I point small-load buyers toward first. It covers a phone, a laptop, a router, a CPAP, a fan, and a couple of LED lights without breaking a sweat, and it fits in a van or a hall closet. Note that this particular listing is a renewed unit, so read the listing details carefully before you buy and confirm exactly what is in the box. Check current Amazon price on the listing.
One caveat matters more than the brand name: 293Wh is roughly a third of a kilowatt-hour. A full-size fridge will eat that in a few hours of compressor run time. This is a small-load station, not a household backup. Pair it with a panel if you want to stretch it across a weekend, and remember the listing does not include one.
Flaws but not dealbreakers: The AC inverter here is sized for small loads. Check the surge rating on the listing before you plug in anything with a compressor or a heating element.
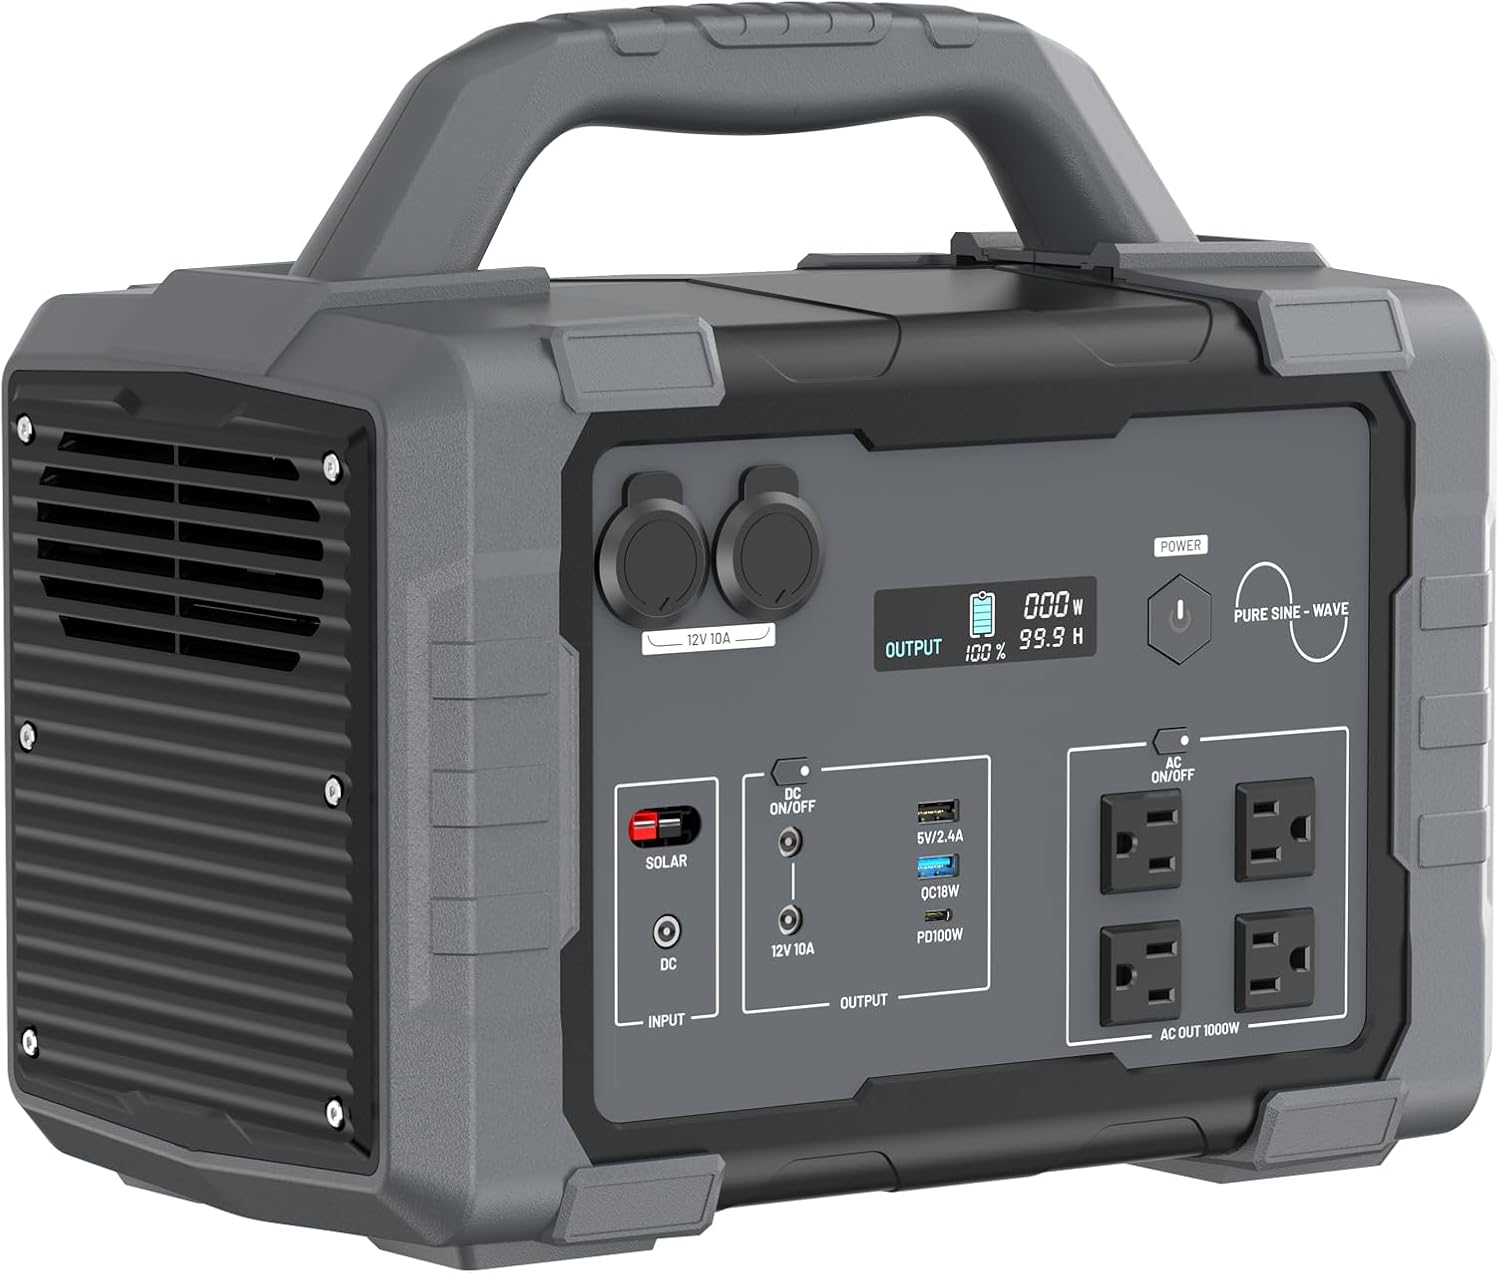
The whole-home-essentials pick: 1000W Portable Power Station 1024Wh LiFePO4 for Outdoor & Home
 Visit on Amazon →
This is the one I'd hand a household buyer first. A 1024Wh bank with LiFePO4 chemistry and a 1000W inverter is the current sweet spot: enough capacity to run a fridge through an overnight outage plus a modem, a few lights, and laptop charging, and enough sustained inverter output to start the loads that need a little push. LiFePO4 is the part I care about most. The chemistry trades a bit of weight and a bit of money for cycle life measured in thousands of cycles instead of hundreds, which is the difference between a tool you keep and a purchase you repeat. Check current Amazon price on the listing.
I also like that this class of unit generally runs from its own buttons. If the app ever misbehaves after a firmware update, the station still works, and that matters more at 2 a.m. than any dashboard feature.
Flaws but not dealbreakers: 1000W continuous will not run a space heater, a well pump, or an electric kettle at full tilt. Add up your loads before you assume otherwise, and check the surge figure on the listing if you plan to run a compressor.
The sizing workflow, step by step
Now the part you came for. Grab a notepad, a plug-in energy monitor, and 15 minutes.
Step one: List your loads. Write down everything you actually want to run at the same time. Not everything you own. Everything you'd plug in during an outage: fridge, modem, router, phone chargers, a couple of lights, maybe a CPAP. Be honest about what runs simultaneously, because simultaneous draw is what sizes the inverter.
Step two: Get the real draw. Plug each load into a meter and read the watts while it's doing its job. A fridge is the classic surprise. The label might say 6 amps, but the compressor cycles, so the meter shows a few hundred watts for a few minutes and then almost nothing. Write down running watts and the cycling pattern for each load. Cheap meters struggle with compressor inrush, so if a startup reading looks low, treat it as a floor, not a ceiling.
Step three: Convert watts to watt-hours. Multiply running watts by the hours per day the load actually draws. A 60W fridge compressor that runs 8 hours a day across its cycles is about 480Wh per day. Two LED lights at 10W for 5 hours is 100Wh. A modem and router at 15W combined for 24 hours is 360Wh. Add them up and you have your daily load in watt-hours. This is the number that decides capacity.
Step four: Add the losses. Inverters aren't free. Assume you lose 10 to 15 percent converting DC to AC, and plan to use about 80 percent of the rated capacity if you want the cells to last. That means a 1024Wh station is realistically about 700 to 800Wh of usable AC energy. The sizing suddenly makes sense: 480Wh for the fridge plus 360Wh for the network gear is already at the edge of that budget, which is exactly why I tell people to add headroom.
Step five: Check the surge. The inverter has to survive the instant a motor starts. A fridge compressor can pull several times its running watts for a fraction of a second. Check the surge rating on the listing, not the marketing headline, and leave yourself margin. If your loads include a well pump or an air conditioner, this is where most budget stations fall out of the running.
Step six: Pick your charge source. Wall charging is the fast path and the one you'll use most. Solar is a bonus, not a religion. A 100W panel in good sun is roughly 60 to 80W into the battery after losses, which is a slow top-up, not a rescue plan. If you want real solar input, check the unit's input limits and connector type first. Proprietary connectors are one of my pet peeves for a reason.
Step seven: Run a drill before you need it. Once the station is charged, plug in your real loads on a normal Saturday and see how long it actually lasts. Log the start and end time. That single drill teaches you more than any spec sheet, and it tells you whether your math was right before an outage tests it for you.
Where sizing goes wrong
Peak watts sold as sustained watts. Some listings lead with a surge number and bury the continuous rating. Size the inverter on continuous watts, then check surge.
Rated capacity treated as usable capacity. A 1024Wh label is not 1024Wh at your AC outlet. Losses and depth of discharge take a bite before your fridge ever sees a watt.
No load math. "Up to 10 hours" means nothing without a load figure attached. Hours at what draw? If the listing won't say, assume the number is a phone.
Ignoring cold. LiFePO4 does not like charging below freezing, and a van in a Colorado winter gets cold. If your station lives in the vehicle, plan to warm it before you charge it.
Trusting the app over the buttons. Firmware updates that brick a unit mid-outage are a real failure mode. Make sure the thing works from its own panel first.
Forgetting pass-through behavior. If you want the station to hold up your router through a brownout, check whether it supports pass-through with a transfer fast enough to keep the gear alive. Not every unit does.
What this actually costs you
The honest way to compare these is cost per usable watt-hour per year, not sticker price. Do the division yourself against the listing, and be suspicious of any math that ignores chemistry.
LiFePO4 changes that math in a way that's easy to underestimate. A cheaper chemistry that gives you a few hundred cycles before capacity falls off is a subscription. A LiFePO4 bank rated for thousands of cycles is a purchase. If you plan to keep the station for five years and cycle it a few times a month, the chemistry question matters more than a small difference in sticker price. Check current Amazon price on both listings and run the numbers against your own usage.
The cheapest tool in this whole article is the meter. A plug-in energy monitor costs less than a takeout dinner, and it will keep you from buying the wrong station twice.
The bottom line
Sizing is a 15-minute job: list the loads, meter them, convert to watt-hours, add losses, check the surge, then run a drill. If your loads are small, the 293Wh class covers them and the renewed Explorer 300 is the budget path. If you want the fridge and the network to ride out a real outage, the 1024Wh LiFePO4 unit is the one I'd buy first. Either way, buy headroom, keep the meter handy, and test the thing on a sunny Saturday instead of at 2 a.m. in a blackout.