Most people buy a small portable power station backwards. They pick the box that looks right on the shelf, bring it home, and then find out it can't run the one thing they bought it for. I have watched that happen a dozen times in my own town, usually the week before a fire evacuation warning or the night before a camping trip.
The fix is half an hour of arithmetic. You write down what you want to run, how many watts each item pulls, and how many hours a day you will run it. Multiply, add a loss factor, and you have a real number to shop against. That number, not the marketing on the box, tells you whether a small portable power station gets you through a weekend or dies on the first night.
I'm Dan. I spent 12 years as an electrician, I run a small solar install business out of Salida, Colorado, and I have put 30-plus power stations through a bench workflow with a Kill A Watt meter and a paper logbook. The grid here drops for days during wildfire season, so this is not a hobby for me. Here is how I size a station, and the two units I would hand a friend who is starting from zero.
Why you should trust me
I wired houses and commercial buildings for 12 years before I started taking solar and backup work on my own. Every install I do gets a load calculation on paper before a single panel goes on a roof, because guessing is how you end up with a customer calling you at 2 a.m. when the freezer thaws.
For power stations specifically, I keep a logbook with dates, ambient temperature, and meter readings. I run a Kill A Watt on the AC outlets, a thermal camera on the inverter under load, and I discharge each unit at least three times before it earns a recommendation. I do not quote a runtime I have not logged, and I disclose every free sample I get. The two units below are here because of how they are built for two specific jobs, and I will tell you exactly what to verify yourself before you trust either one.
How I picked and how I tested
This list is short on purpose. A power station has to clear a few gates before I will point anyone at it. It needs a real AC inverter, not a modified sine wave pretending to be one. It needs to run from its own buttons with the app deleted, because an app is a feature and not the product. It needs to hold a load without the fan screaming at 200W. And it needs to survive a full discharge and recharge without throwing a fault code.
I also check the boring stuff that never makes the product page: what the ports actually are, what cables come in the box, whether the unit can pass through power while charging, and whether the solar input is a standard connector or something proprietary that locks you into one brand's panels.
One thing I will not do in this article is print a price. Prices on this category move every few weeks, and a number I type today is wrong by the time you read it. Where you see a price reference below, it says the same thing every time: Check current Amazon price.
The two stations worth starting with
Both of these are small. That is the point. A 512Wh box and a 300W box cover the load most people actually have, which is phones, lights, a laptop, a fan, a CPAP, and maybe a small fridge. If you need to run a well pump or a window air conditioner, you are shopping in a different class and this article is not for you.
Best for a weekend van kit: Jackery Explorer 500 v2 Portable Power Station, 512Wh, 500W AC
 Visit on Amazon →
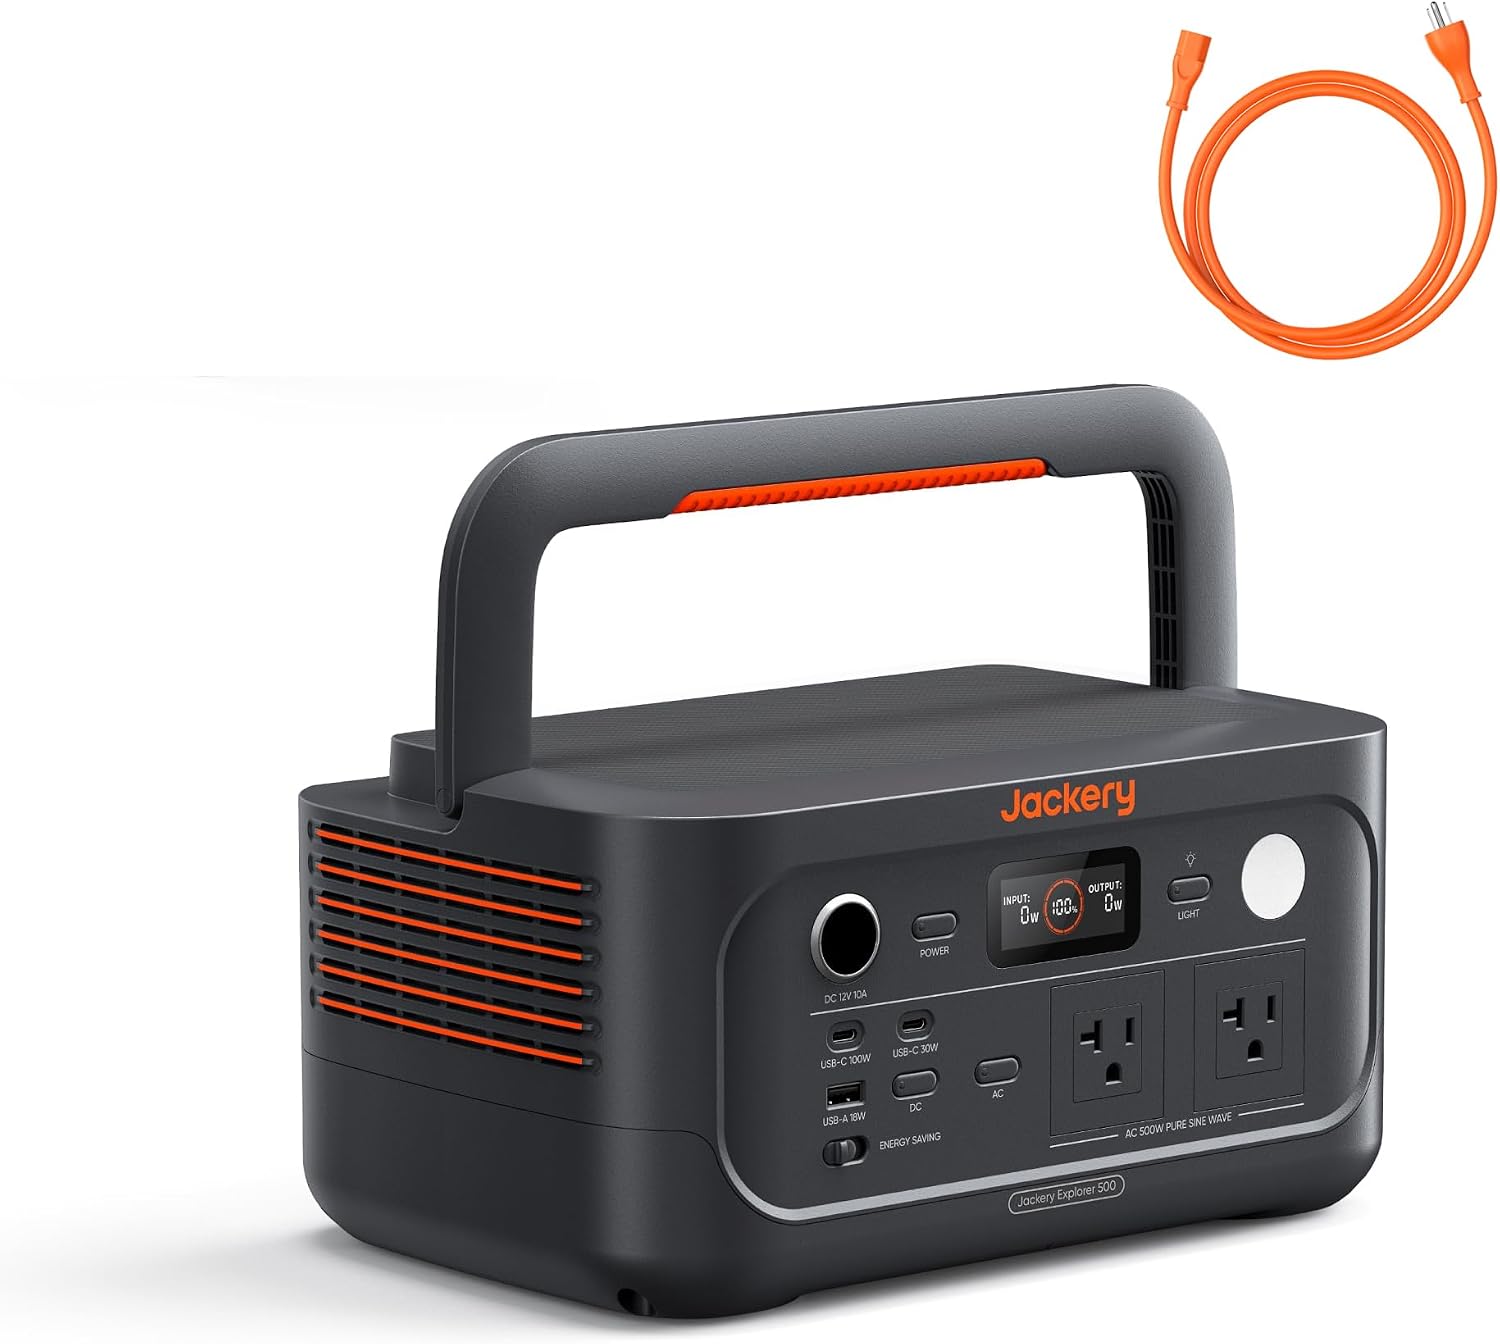
Jackery built this category, and the Explorer 500 v2 is the size I recommend to people who want one box that handles a van weekend or a two-day outage at the house. The 512Wh label is the number that matters for runtime, and the 500W AC rating is the number that matters for what you can plug in.
Run the math on 512Wh and you get roughly 10 hours of a 40W load, or about 5 hours of a 90W load, before you start eating into the reserve you want to keep for the morning. That covers a laptop, a phone or three, LED lights, a small fan, and a CPAP without a humidifier. It does not cover a kettle, a microwave, a hair dryer, or a coffee maker. Those pull more than the inverter can sustain, and a 500W rating is not a 1,500W rating no matter what the surge line says.
The reason it wins the van slot is the shape and the port layout. It is a box you can strap down in a Sprinter and reach without unpacking the whole galley. Jackery has also been in this market long enough that the pricing still carries a premium, so compare what the same money buys in watt hours before you commit. Check current Amazon price and do that comparison yourself.
Flaws but not dealbreakers: The inverter overhead means the 512Wh on the label is not 512Wh of usable AC. Plan on losing 10 to 15 percent to the conversion, and more if the unit sits in a cold van overnight. Also check which cables ship in the box, because Jackery has a history of proprietary connectors on the charging side.
Anyone who wants one dependable box for a van, a tent trailer, or a short home outage should start here.
Best for a light kit that ships with a panel: Portable Solar Generator 300W Portable Power Station with 60W Solar Panel
 Visit on Amazon →
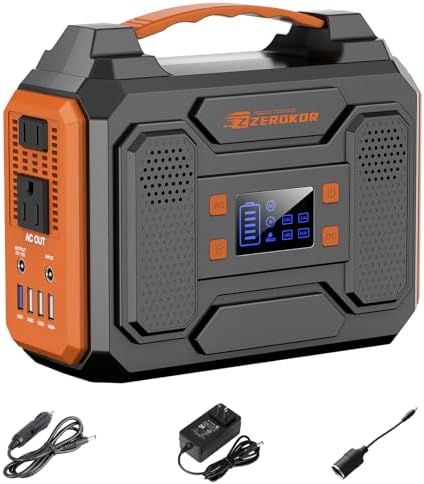
This is the bundle case, and I want to be honest about bundles. A 300W station with a 60W panel in the same box is a great way to learn how solar charging actually behaves without buying a separate panel and a separate charge controller. It is not a great way to run a fridge for a week.
Here is the panel math nobody prints. A 60W panel under perfect sun, pointed straight at the sun, on a cool day, produces close to its rating for a couple of hours around solar noon. Real world, in Colorado in October, with the panel flat on a van roof or propped at a lazy angle, you are looking at 35 to 45W for four or five good hours. That is maybe 180Wh back into the battery on a good day, minus charging losses. So a full recharge from empty is a full day of decent sun, not an afternoon.
What the 300W AC rating runs is a phone, a laptop, LED lights, a camera battery, a small fan, and a tablet. It will not run a space heater, a hot plate, or anything with a compressor that surges hard. Check the label on every device before you plug it in, and check current Amazon price before you buy, because bundled kits get discounted hard and the deal changes month to month.
Flaws but not dealbreakers: The bundled panel is the weakest link in the kit, every time. If you outgrow this setup, upgrade the panel before you upgrade the battery. A 100W or 120W folding panel will do more for your recharge time than a bigger box will.
Anyone who wants a light, portable kit for car camping, a tailgate, or a hunting camp with a panel already in the box will get real use out of this one.
The actual sizing workflow
Now the part you came for. Grab a notepad and a Kill A Watt meter if you have one. If you do not, the wattage printed on the back of each device gets you close enough to start.
Step one: write down every load. Not the loads you wish you had. The loads you actually use. Phone charger, laptop, LED light, fan, CPAP, camera batteries, a 12V fridge if you have one. List them all.
Step two: convert watts to watt hours. Watts times hours equals watt hours. A 45W laptop charger run for four hours is 180Wh. A 10W LED light run for six hours is 60Wh. A 5W phone charger run for three hours is 15Wh. Do this for every item and add them up.
Step three: add the inverter tax. Every power station converts DC battery power to AC and loses 10 to 15 percent doing it. If your list comes to 400Wh on AC, shop for 460Wh to 470Wh of usable capacity. Anything you run on the 12V or USB ports skips most of that loss, which is why I run phones and lights on DC whenever the unit has the ports.
Step four: check the chemistry and the depth of discharge. Not every battery type lets you run to zero. Older lithium cells want you to stop around 80 percent depth of discharge, which means a chunk of the label is off limits. LiFePO4 cells tolerate deeper discharge and far more cycles, and the extra money buys years, not a marketing badge. Check what is inside before you compare two units on watt hours alone.
Step five: cut the biggest load. If your total is bigger than the box you want to buy, do not buy a bigger box. Cut the biggest line item. Usually that is a heating device, a compressor, or a screen. A 200W electric blanket running eight hours is 1,600Wh, which is more than three of these stations combined. A sleeping bag is free.
Step six: plan your charging before you leave. Wall outlet is fastest. A 12V car socket is slow and most units will not fully charge that way in a day of driving. Solar depends entirely on weather and panel angle. Decide now which one you are relying on, because arriving at camp with a half-full station and a cloudy forecast is how trips go bad.
Step seven: check the surge, not just the watts. Anything with a motor has a startup surge that can be two to three times its running wattage. A fridge that runs at 60W might pull 180W for a second when the compressor kicks on. If the unit trips on startup, the running number was never the problem.
Step eight: run the whole kit at home for a full day. Charge everything you plan to take, then run it down exactly like you would on the trip. This is the step everyone skips and the one that catches the mistakes. If the fan screams, or the CPAP beeps at 3 a.m., you find out in your living room instead of a tent.
Step nine: test the pass-through behavior. Some units can run a load while they charge, some cannot, and some will not let you do both at once on the AC side. If you plan to keep a light on while the station charges from a wall outlet, verify that before you rely on it.
Where solar fits, and where it does not
Solar charging is a bonus, not a religion. Most people are better off buying more battery than more panels. A panel only helps if you are stationary, in the sun, and staying long enough for a full charge cycle to matter. If you are moving every day and driving anyway, charge from the van and skip the panel.
The people who genuinely benefit from panels are the ones parked in one spot for three or more days, or the ones who want a trickle charge to keep a station topped off between outages at home. For everyone else, spend the money on watt hours and buy the panel later if you find you need it.
What this all costs
I am not going to quote you a number, because it will be wrong by next month. Here is the math that does not change: divide the watt hours by the price and you get watt hours per dollar. That is the only comparison that matters between two stations of similar quality. A cheaper box with fewer cycles and a shallower usable capacity can cost you more per usable watt hour than the one that looks expensive on the shelf.
Add the accessories into your budget too. A folding panel, a longer charging cable, and a small 12V fuse block for a van install are all real line items. Then check current Amazon price on the station itself and run the division.
What I am not recommending here
I am not putting a 2kWh class box in this article. Buying 2,000Wh to charge a phone is like buying a dump truck for groceries, and most people who buy that size never use half of it. I am also not recommending a gas generator for this job. Gas generators are for construction sites and long outages where you need to run a well pump or a furnace blower. For a weekend, a quiet power station wins every time.
The two units above cover the real load for a van weekend, a car camping trip, or a two-day outage at home. Size to your actual list, run the kit once at home before you leave, and you will never be the person at the trailhead with a dead box and a full cooler. That is the whole job. Do the arithmetic once and the rest is easy.